Aquarium Heater Controller: What Stops a Cooked Tank
September 10, 2026
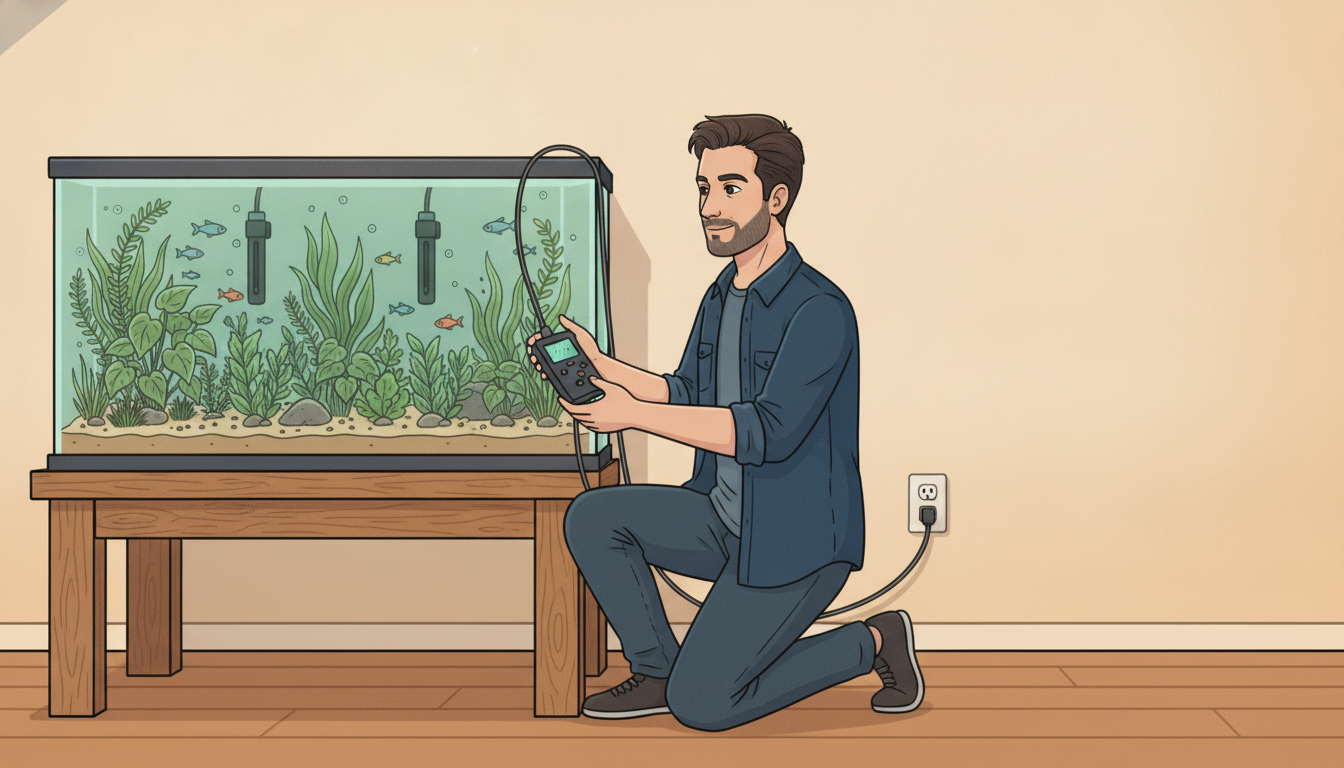
Inside a typical aquarium heater there are two small pieces of metal that touch each other about a hundred times a day.
That’s the thermostat. Water goes cold, the metal closes, power flows to the element. Water comes back up to temperature, the metal springs apart, power stops. It’s simple and it’s cheap and it works — right up until it doesn’t.
Here’s the part nobody mentions at the store. Every time those two contacts pull apart while carrying current, a tiny spark jumps the gap. Each spark melts a microscopic amount of metal off the surfaces. Do that a hundred times a day for two years — somewhere around seventy thousand cycles — and the faces get pitted and rough, until one day a spark runs hot enough that the two of them fuse together as they cool.
They weld shut. And once they’re welded, the little spring behind them can’t pull them apart again.
So the heater doesn’t switch off. Not at 26°C, not at 30, not at 34. It keeps heating until a person walks over and unplugs it.
The heater’s only defence lives inside the heater
That’s the problem in one line. There is exactly one component standing between your heater and a cooked tank, and it’s a mechanical part sealed inside a glass tube, sitting in warm water, cycling all day. When it goes, nothing else in your setup notices.
Welded contacts are the classic version. Three other routes land in the same place:
- Digital heaters switch with a solid-state part instead of moving metal. When those fail — a voltage spike, heat stress, plain age — they normally fail shorted, which means current keeps flowing. Same result, no moving parts required.
- Sensor drift. A heater with a digital readout takes its temperature from a small sensor. If that sensor’s reading creeps low over time, the heater believes the tank is cold and keeps working on a tank that isn’t.
- Water getting in. Condensation inside the tube bridges the board and bypasses the thermostat completely.
Four different mechanisms, one shape: the switch is stuck closed, and the tank has no idea.
You can’t buy your way out of this with a better heater. Good heaters fail this way too — less often, but they do. What you can do is stop letting the heater be the only thing that gets a vote.
But before any of the wiring, there’s a number to get right. And the usual way of getting it makes the stuck-on failure worse, not better.
How many watts you actually need
Aqueon make heaters, and they publish the rule everybody repeats: roughly 5 watts per gallon up to 55 gallons, roughly 3 watts per gallon above 60. They also publish the part that gets dropped when the rule gets repeated — use a larger size, or a second heater, if the aquarium is in an especially cold room, on an exterior wall, or near an outside door.
That footnote is the whole thing. The rule is written for an average room. My tanks live in a Winnipeg basement.
Think about what a heater is doing once the tank is already at temperature. It isn’t heating the water. It’s replacing heat that’s leaking out through the glass into the room, at exactly the rate it leaks. Make the room colder and the leak runs faster. Your gallons didn’t change. The gap did.
So size for the gap.
Measure your own tank
You don’t need a chart for this. You need one evening.
Unplug the heater. Write down the temperature and the clock. Come back three hours later and write both down again. That drop is your tank’s real heat loss — in your room, with your lid, under your lights.
Then the math. Water needs about 4,186 joules to lift one kilogram by one degree Celsius, and a litre of water weighs about a kilogram, so:
watts = litres × 4,186 × degrees dropped ÷ seconds elapsed
My 55-gallon holds about 208 litres. The room sat at 20°C (68°F), the tank was set to 25°C (77°F) — a 5-degree gap. Three hours unplugged, and it fell half a degree.
208 × 4,186 × 0.5 ÷ 10,800 = 40 watts
Forty watts holds that tank against a 5-degree gap. Divide it out and you get about 8 watts per degree of gap, and that’s the number worth writing on the stand in paint pen, because unlike a watts-per-gallon rule it actually scales to conditions.
Now size for January, not for tonight
The gap you design around is the worst one of the year, not the one you happened to measure on a mild evening.
That basement gets down to about 15°C (59°F) in January, when the furnace is losing its argument with the wall. The tank still wants 25. So the gap doubles to 10 degrees, and the loss doubles with it: 10 × 8 = 80 watts, just to hold steady.
Then double it again. A heater sized exactly to the loss runs every second of every minute with nothing in reserve — no recovery after a water change, no margin on a night colder than the one you planned for. Call it 160 watts total for that tank.
Which works out to about 3 watts per gallon. The rule of thumb was right for my basement — and the measurement is how I know that, instead of hoping.
Move the same tank upstairs into a 22°C (72°F) living room and the rule falls apart. Gap of 3 degrees, 24 watts to hold it, call it 50 with headroom. The 5-watts-per-gallon version would have sold that tank 275 watts. Five times the heat it needs.
Oversizing isn’t free
This is where the wattage question and the welded-contacts question turn out to be the same question.
A heater stuck on doesn’t heat forever. It climbs until the heat it’s making equals the heat the tank is losing, and then it parks there. At 8 watts per degree of gap, a 275-watt heater welded shut settles somewhere around 34 degrees above room temperature. A 100-watt heater settles around 12.
In a 20°C room, that’s the difference between a tank at 54°C and a tank at 32°C. Boiled, versus a rough week.
The real numbers land lower than that, because evaporation carries off a serious amount of heat once the surface gets warm and the calculation above ignores it. But the ordering holds, and the ordering is the whole point. Every extra watt you buy just to be safe is a watt pointed at your fish on the day the thermostat welds. Buy what the gap needs, plus recovery. Not more.
Glass, titanium, or electronic — for a tank you leave
Three kinds sit on the shelf, and for this build they are genuinely not interchangeable.
Glass with a dial is the classic, and it’s what I keep buying. The thermostat inside it is exactly the welding kind I described up top, which sounds like a reason to avoid it and isn’t. That dial is what makes the backup layer in the next section possible. You get a second, independent switch out of it, and it’s mechanical — it doesn’t care what a circuit board somewhere else is doing.
Electronic heaters, the ones with a little display on the cord, switch with solid-state parts instead of contacts. No arcing, no welding, and they usually last longer before they quit. When they do quit they tend to fail shorted, which is the same stuck-on ending reached by a different road. They still work as a backup ceiling. You’re just trusting firmware to hold it rather than a spring.
Titanium is the one to think hardest about. The tube can’t shatter, which matters if you’ve ever knocked a hot glass heater during a water change. But read what’s in the box before you commit: hygger’s titanium aquarium heaters ship as a rod, a probe with a suction cup, and a separate controller — because the titanium rod has no thermostat in it at all. The control lives entirely in that external box.
That’s a real problem here, and it’s easy to walk past. A glass heater plus a controller is two switches. A titanium kit is one switch wearing the same shape. If you want titanium, something else has to hold the ceiling — a glass heater running alongside it, or a second controller in line.
An external controller is a smart extension cord
Take the display off one and that’s genuinely what it is.
The controller plugs into the wall. Your heater plugs into the controller. It carries its own probe, which sits in the water completely separate from anything inside the heater. When the water reaches the temperature you set, the controller cuts mains power to that outlet.
That’s the whole idea. The switch that stops the heat is no longer inside the heater — it’s a different device, with its own contacts, that fails on its own schedule. Your heater’s thermostat can be welded wide open and it changes nothing, because no power is reaching it.
One point of failure just became two. Both have to break, at the same time, in the same direction, before your fish are in any trouble.
The setup step almost everyone gets backwards
This is the ten-second step that decides whether all of the above is real or decorative.
Set the heater’s own dial higher than the controller’s setpoint.
Say you want 25°C (77°F). Set the controller to 25°C. Then turn the heater’s dial up to roughly 27°C (81°F).
Now the controller handles every bit of day-to-day switching. The heater’s internal thermostat never reaches its own setpoint, so it never cycles, and contacts that never cycle never wear. It just sits there as the backup layer — and if the controller’s relay is the thing that welds shut one day, the heater’s own thermostat still cuts out at 27°C before the tank gets dangerous.
Do it the other way around — heater at 25, controller at 27 — and you’ve built nothing at all. The heater’s thermostat is still doing all the switching and all the wearing. The controller never fires. And on the day the heater welds shut, the controller sits there watching the water climb toward a number it was never told to worry about.
Two identical devices. Opposite outcomes. The only difference is which of the two numbers is bigger.
Wiring it so the two layers can’t fail together
Redundancy only counts when the layers are genuinely independent. Five things to get right:
Probe at the far end of the tank, mid-depth, somewhere with flow. Park it beside the heater and it reads the warm plume rising off the element instead of your actual water, which means it shuts off early and holds the tank colder than the display claims.
Split heaters go at opposite ends. If you’re running a pair — and after the sizing section you probably are — don’t cluster them. One near the filter outflow, one down the other end. Aqueon’s own guidance is to sit a heater where water is already moving past it, near an intake or an outlet, and to lay submersibles horizontally low in the tank rather than standing them upright. A heater in dead water warms a small bubble around itself, satisfies its own thermostat early, and leaves the far end of the tank a couple of degrees behind.
Controller straight into the wall. Not into a timer, not into a smart plug, not into a power bar you flip off at night. Anything upstream that cuts power on a schedule takes your heat with it, and in a Winnipeg February that isn’t a hypothetical. Put lights on a plug. Never heat.
Drip loop on the probe cord. Route it over the rim so it hangs below the controller before it comes back up. Water follows a cable downhill, and you’d rather it drip on the floor than track into the box.
Check the load. These plug-in controllers are usually rated around 10 amps — the 306T’s spec sheet says 10A and 1200W at 120V — and you want to sit well under the rating rather than near it. Two aquarium heaters won’t come close. Just don’t get clever and hang a pump or a light off the same outlets.
Setting the band so it isn’t hammering itself
A controller doesn’t switch at one exact number. It works across a small band — heat comes on when the water falls a set amount below target, and goes off once it’s back.
Set that band too tight and the relay clicks on and off all day, which is precisely the arcing-and-wearing cycle you bought the thing to escape. Set it too loose and the tank swings more than anyone in it would like.
For a normal tropical freshwater tank I run a differential of about 0.5°C (1°F). Tight enough that no fish notices, loose enough that the relay isn’t beating itself up between breakfast and lunch.
And once it’s dialled in, leave the heater’s own dial alone. From here on that dial isn’t a setting. It’s a ceiling.
What a controller still can’t do for you
Worth being straight about the gap. An external controller is excellent protection against a heater stuck on. It does close to nothing about a heater that quietly dies.
If the element fails open, the controller keeps calling for heat, the outlet stays live, and nothing at all happens. The tank drifts down toward room temperature across a few days. The controller will happily show you a number well under setpoint the whole time — but somebody has to be standing there to read it.
Don’t let the word “alarm” on the box fool you here either. The 306T does have a high and low temperature alarm, but its trip points are fixed at -50°C and 99°C. That’s an alarm for a probe that’s fallen out or failed, not for a tank sliding quietly toward room temperature.
There are two cheap answers, and they stack. Split the heating across two smaller heaters, so one dying leaves you cool instead of crashed. And if you travel, run something that can actually reach you — a WiFi-capable monitor that pushes a heater failure to your phone. Cutting the power is the half that saves the tank. Being told is the half that saves the trip.
Treat the heater as a consumable
Last piece, and this one’s free.
Contacts wear on a schedule. A mechanical heater that’s been cycling for two years has done an enormous amount of small-scale arcing, and it is measurably closer to welding than it was the day you bought it. I swap mine every couple of years whether they’ve misbehaved or not, and I write the install date on the cord in paint pen so I’m never standing there guessing.
A controller doesn’t make your heater immortal. It makes your heater’s death boring, which is the only thing I’ve ever actually wanted from a piece of aquarium equipment.
The build, in order
Starting from one heater and nothing else:
- Size it properly. Measure the drop with the heater off, scale it to your room’s coldest week, then double for recovery. Gallons are a starting guess, not the answer — and if you’re still choosing a tank, size matters for stability too.
- Split that wattage — two heaters at half each, instead of one at full.
- Add the external controller. Heaters into the controller, controller into the wall.
- Set the controller to your target, then set each heater’s dial about two degrees above it.
- Heaters at opposite ends, probe at the far end from both, mid-depth, drip loop in the cord.
- Differential around 0.5°C (1°F).
- Drop a second thermometer in somewhere else and confirm the two agree inside their own tolerance.
- Run the whole thing for a week while you’re home, and watch what it really does before you trust it with a trip.
That last step isn’t optional — it’s the same mock-vacation week I run before every trip. Every fail-safe I’ve added to this tank has needed one round of adjustment before it earned its place, and the time to find that out is while you can still reach the plug yourself.